Category: Digital Forensics & Incident Response (DFIR)
Difficulty: Easy
Platform: Hack The Box
Introduction
This write-up details the methodology and findings for the "DroidPhish" Digital Forensics and Incident Response (DFIR) challenge from Hack The Box. This challenge involves analyzing a provided disk image of an Android device to uncover evidence related to a phishing attack and a malicious application. The primary goal is to extract specific pieces of information across 10 sequential tasks, ranging from device boot times and application usage to malware analysis, including identifying its command and control (C2) infrastructure.
Provided Artifacts:
DroidPhish.zip: A compressed archive containing the forensic image.DroidPhish.dd: The raw disk image file of an Android device partition, extracted from the ZIP.
Tools Used:
- Kali Linux: Primary operating system for command-line analysis.
- 7-Zip (
7z): For extracting the compressed image file. fdisk: For initial inspection of the disk image.losetup: For associating the disk image with a loop device.fsck.ext4: For checking and repairing theext4filesystem.mount/umount: For mounting and unmounting the disk image.stat: For retrieving file metadata (timestamps).apktool: For decompiling the Android application package (APK).grep: For searching text patterns within decompiled code and files.- DB Browser for SQLite: For examining SQLite database files.
- Autopsy (on Windows): For graphical analysis and keyword searching.
I. Initial Setup and Image Mounting
The first step involved preparing the provided disk image for analysis.
- Extraction of the Disk Image:
The DroidPhish.zip file was extracted using 7z due to compatibility issues with standard unzip related to PKware specification. The password "hacktheblue" was used.
7z x DroidPhish.zip
# Enter password: hacktheblue
This extracted the DroidPhish.dd image file.
- Initial Disk Image Inspection:
The fdisk -l command was used to inspect the disk image. It was determined that DroidPhish.dd was likely a raw image of a single partition (ext4), not a full disk with a partition table, with a size of 2.5 GiB.
fdisk -l DroidPhish.dd
- Note: You might consider adding why this distinction (single partition vs. full disk image) matters for the analysis steps that follow.
- Mounting the Disk Image in Kali Linux:
Direct mounting attempts failed due to a "dirty" or corrupted filesystem. This required a filesystem check and repair.
- Associate with a Loop Device: To mount the raw partition image, it needed to be associated with a loop device.
sudo losetup -f --show DroidPhish.dd
# Example Output: /dev/loop0
- Note: Replace
/dev/loop0in subsequent commands with the actual loop device assigned. - Filesystem Check and Repair: The
fsck.ext4utility was used to check and repair the filesystem.
sudo fsck.ext4 -y /dev/loop0
The -y flag automatically answered "yes" to all prompts for fixing errors.
-
Note: Provide an explanation about
fsck.ext4 -y, what the errors indicated, and why a repair was necessary before mounting. You can also mention the filesystem type asext4. -
Mounting the Image: A mount point was created, and the image was then mounted as read-only.
sudo mkdir -p /mnt/droidfish_mount
sudo mount -o ro,loop -t ext4 DroidPhish.dd /mnt/droidfish_mount
# Or, if using the loop device directly:
# sudo mount -o ro /dev/loop0 /mnt/droidfish_mount
- Exploring the Mounted Image & Autopsy Setup:
Navigation into /mnt/droidfish_mount/android-9.0-r2/data confirmed the expected Android filesystem structure.
- Note: Add more detail about the structure of the Android filesystem and why
/datais significant.
While much of the analysis was performed on Kali, Autopsy was also used heavily. The windows version is much more effective, therefore I opted for using both Windows & Kali Linux. The DroidPhish.dd image was added to Autopsy.
# Example verification and unmount command
# ls -l /path/to/DroidPhish.dd
# sudo umount /mnt/droidfish_mount
- Note: You can elaborate on Autopsy use-cases and best practices, explaining when a GUI tool might be preferred over CLI for certain forensic tasks.
II. Task Analysis and Solutions
The challenge involved solving 10 sequential tasks.
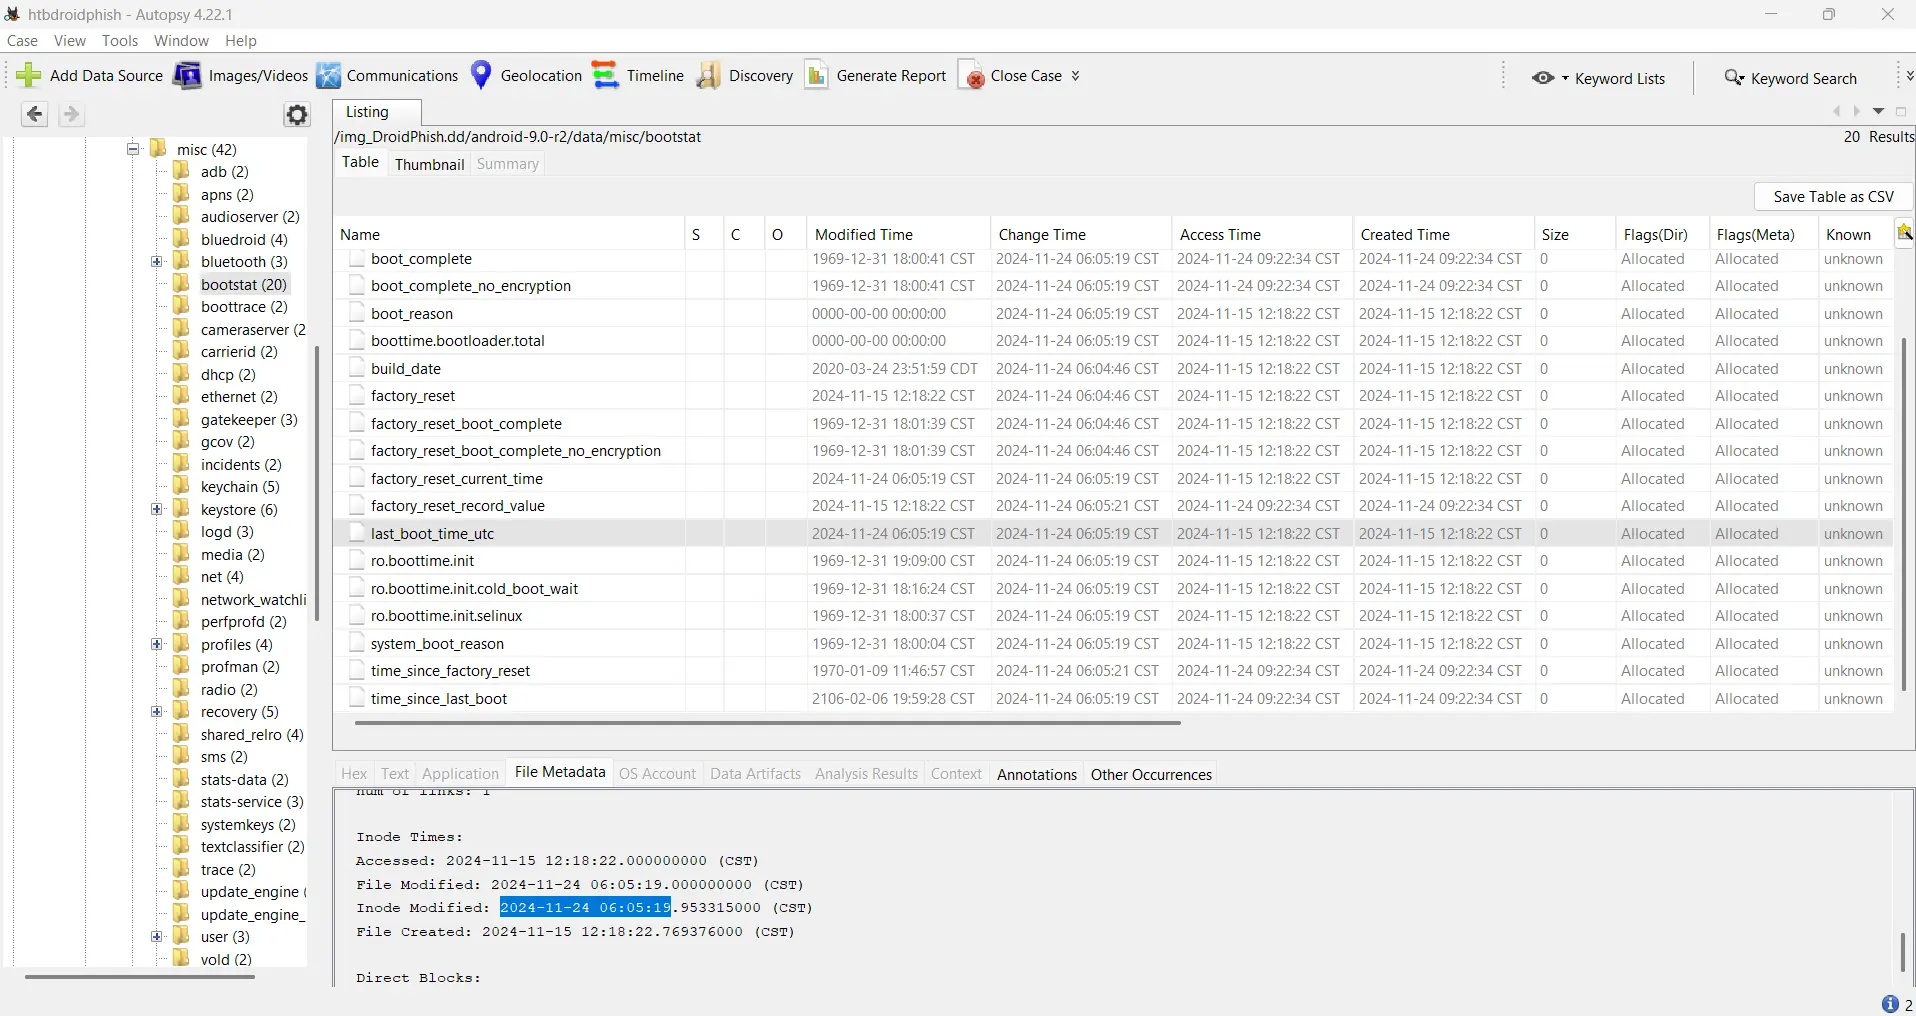
Task 1: Provide the last boot time of the device in UTC format.
- Methodology: The last boot time was identified by examining system logs, specifically the file
last_boot_time_utcwithin/data/misc/bootstat/orbootstat 20250510094106.csv(exported from Autopsy's parsing of/data/misc/bootstat/). The "Modified Time" was found to be2024-11-24 06:05:19 CST. This was converted to UTC by adding 6 hours (as CST is UTC-6). - Answer:
2024-11-24 12:05:19
date -d "2024-11-24 06:05:19 CST" --utc +"%Y-%m-%d %H:%M:%S"
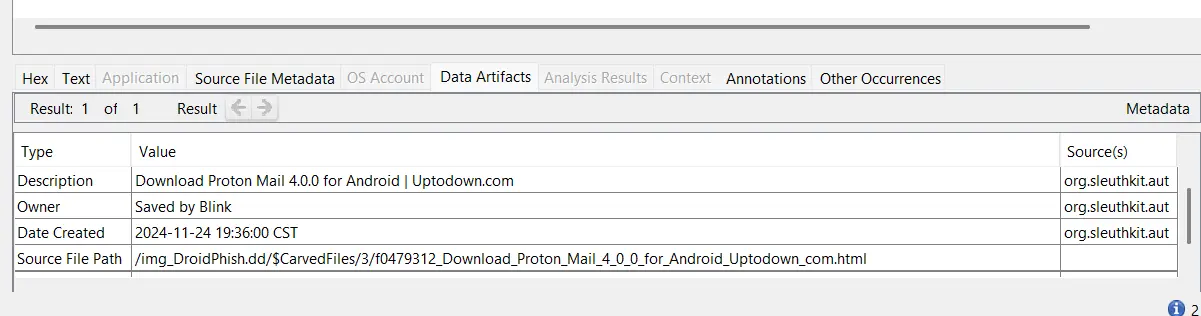
Task 2: The user was exposed to a phishing attack. Provide the name of the email app used as the attack vector.
- Methodology:
usagestatsdata (which logs application usage) was analyzed. This indicated the presence and activity ofch.protonmail.android, the package name for Proton Mail. This was also confirmable in Autopsy under "Installed Programs" or "Application Activity". - Answer:
Proton Mail